OriBounce
- How to make your own origami bounce reflector
You know the problem. You just arrived at todays wedding and suddenly
realize that you forgot your expensive LightHouse Super Shield Pro Mk.
XXIV bounce reflector, which cost you more than you're gonna earn on
this particular wedding... This is terrible!! All your flash images are
now gonna look horribly harsh, the rumour will spread that you're an
awful photographer, you're business will crash, you're wife will leave
you, and before the year is over, you will beyond all doubt have
comitted suicide... DON'T PANIC! (<- written in large friendly
letters). All you need to save the day is a piece of white paper and
some tape. And this guide of course... ;)
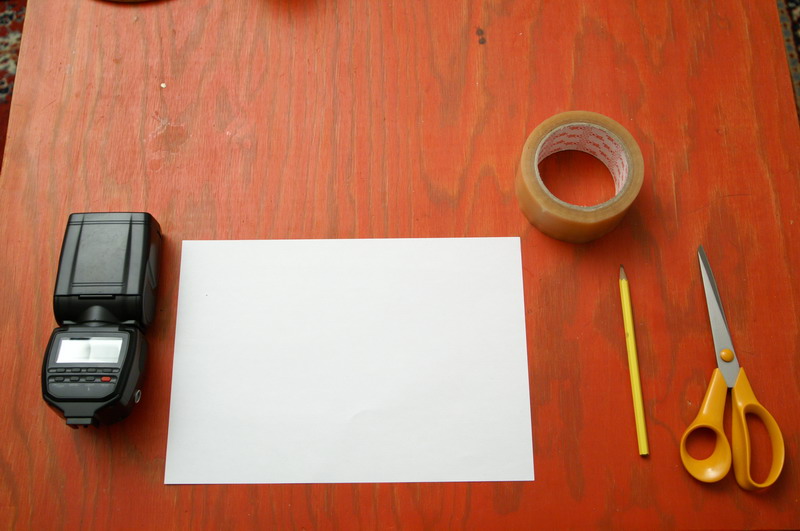
This is all that's needed for the bouncer. The pencil isn't crucial but
can be a good help, and the sissors are only for cutting the tape. And,
no, the tape doesn't have to be that big, but it was all I had....
:-) The paper is standard A4 print paper.
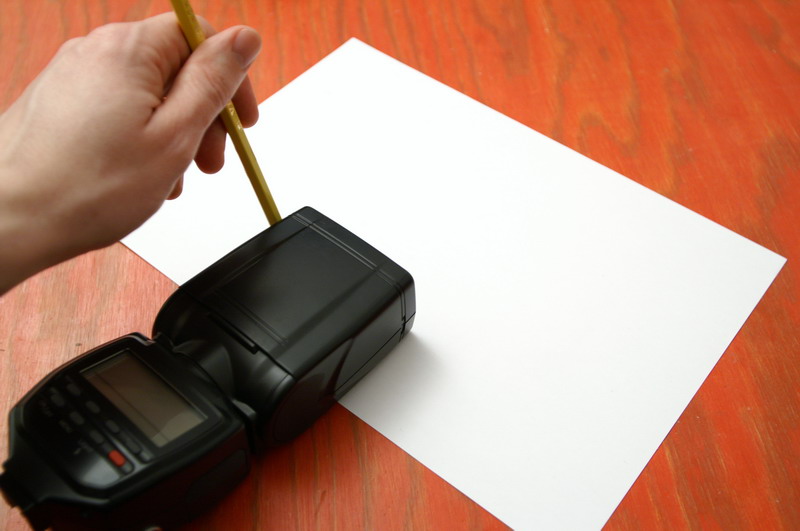
Start with putting your flash on the middle of the paper like this:

Now draw some lines along the sides of the flash.
Now you're paper will look something like this:
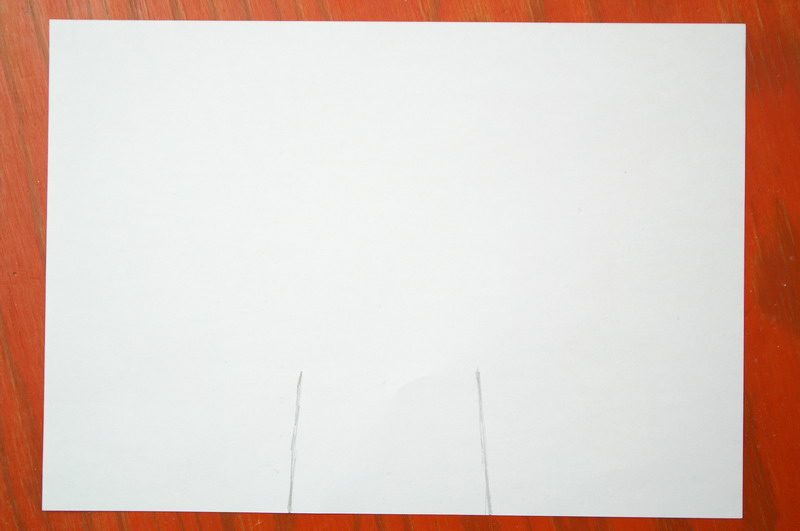
Now add some more lines like shown on the image below. If you don't
have a fairly steady hand, it might be worth it to add a ruler to the
arsenal of tools used in this guide...

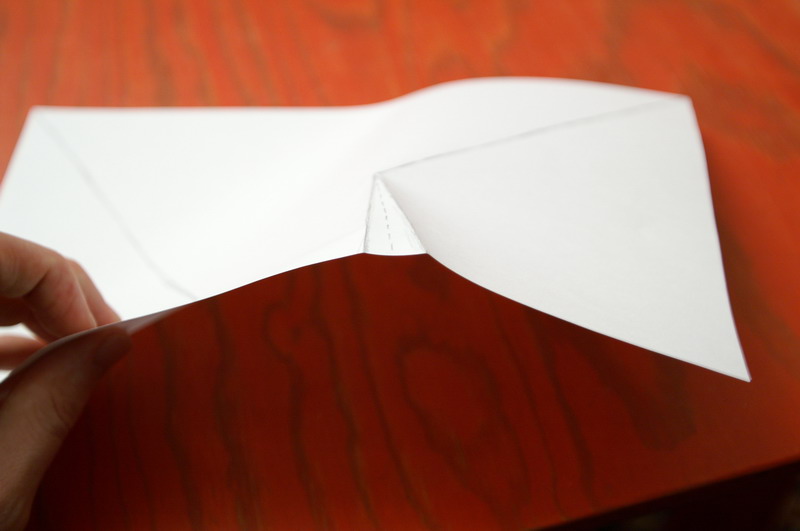
Now start folding the paper along the solid lines. The order isn't
important. In the example I've started with the first lines I drew.
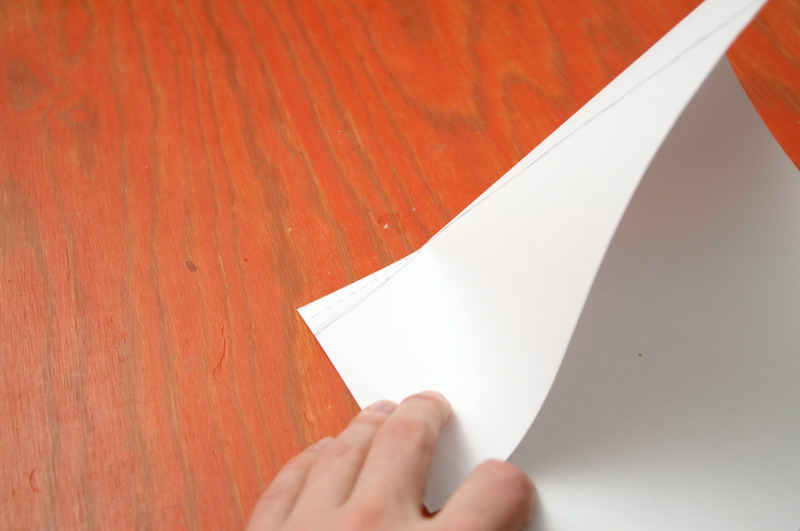
Here continueing with the short line next to it:
Here I folded the dashed line the other way than the to first lines:
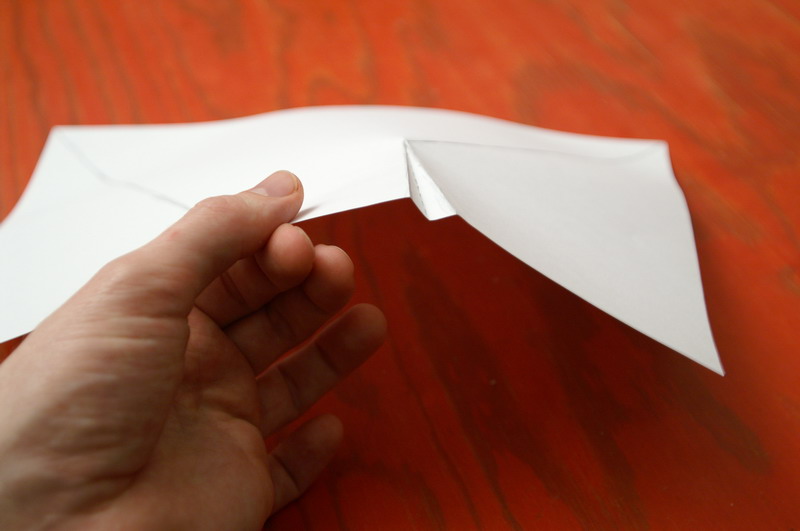
And finally the long lines.
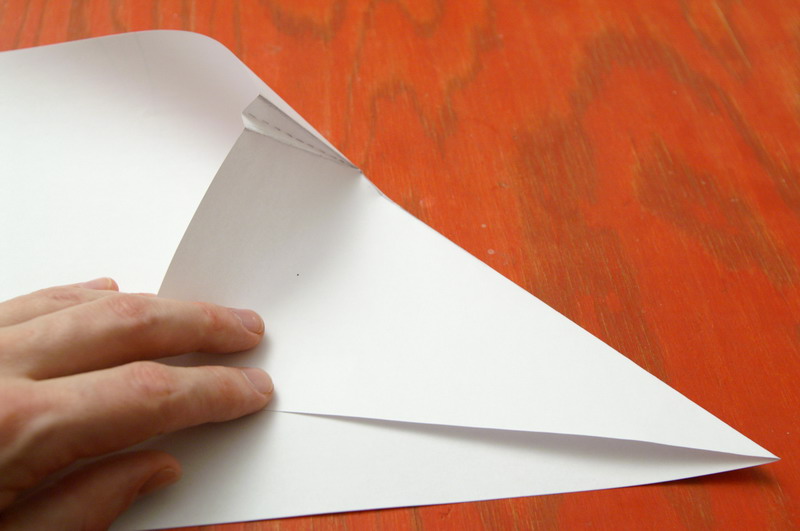
And the same again in the other side of the paper:
Now, to add more stiffness to the bouncer, we need to fold again along
the sides. Fold them the same way as with the dashed lines.

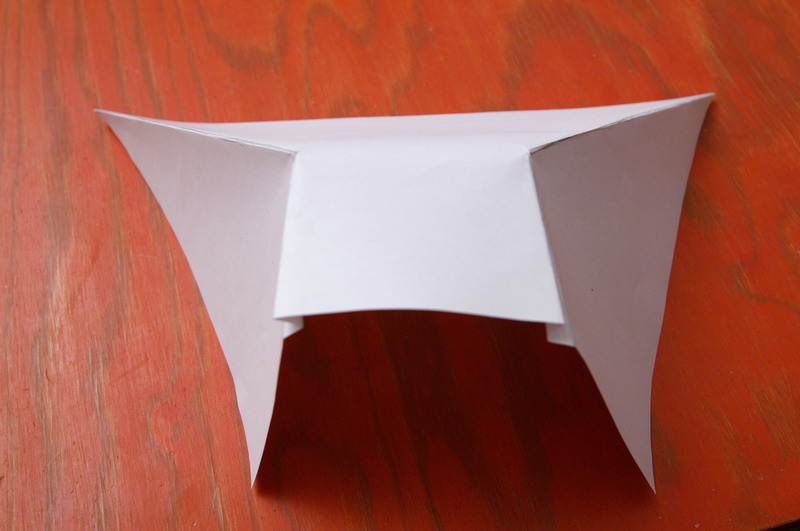
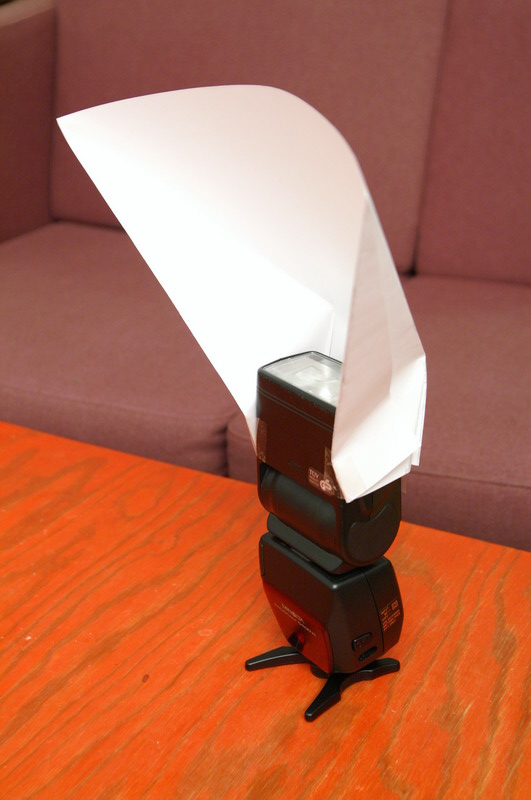
Now the bouncer is done:
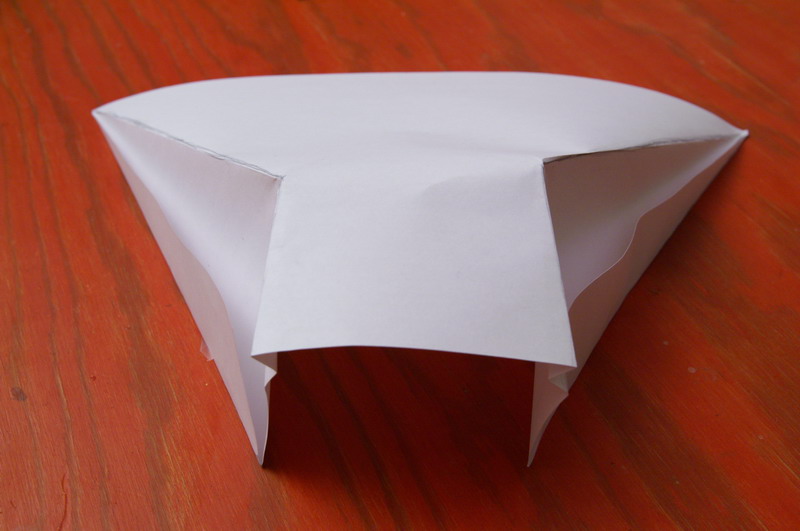
To attach, start with two pieces of tape at the front like this:
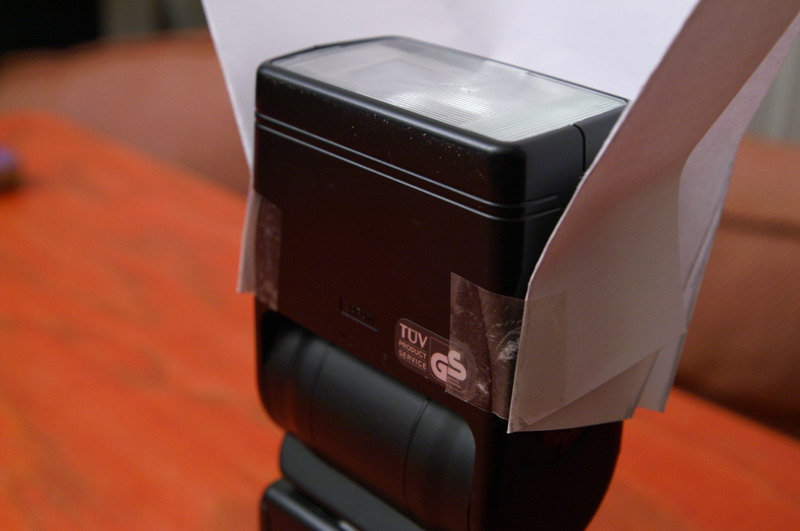
This will make the bouncer lean somewhat backwards like this:
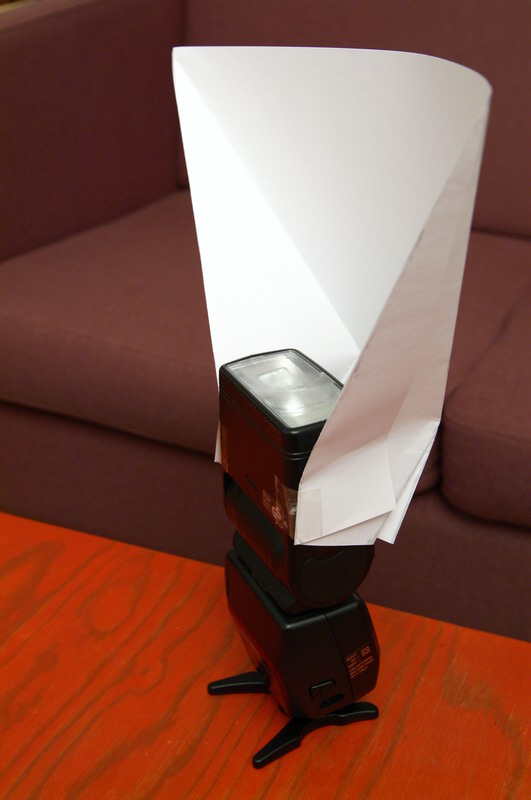
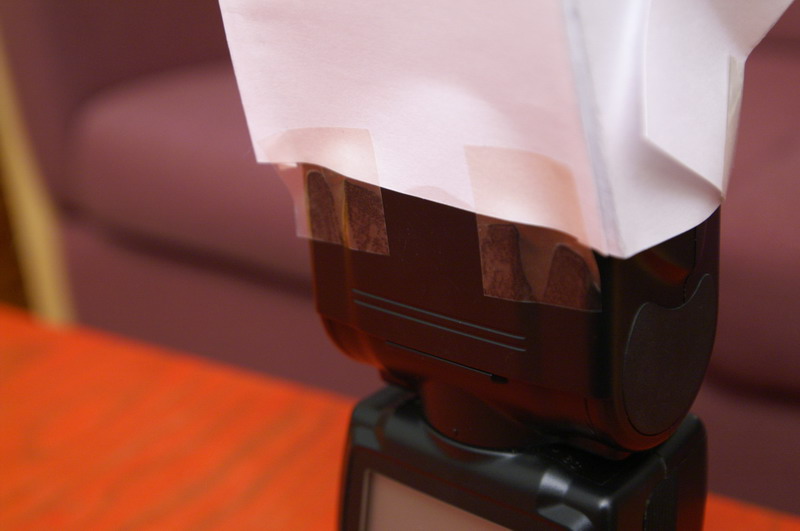
You can adjust te bouncer by moving the back of it up and down, until
it has the right angle. Now attach tape to fixate it.
Now it's finished:
Examples
Here's some quick'n'dirty examples of the improvement (no, I don't do
weddings and I just got my Konica Minolta Dynax 7D yesterday, and I'm
ill at the moment, so I haven't had the chance to test it against
people or anything fancy).
The first one is shot with direct flash:
This one is done with the amazing OriBouncer:
That's it. Hope you find it useful. :)
Yours etc.
Torsten Balle Koefoed
Go back to the m00se...